20% off any treatment, all of November.20% offany treatment, all of November.
1st to 30th November
Use it when you book any treatment, from brow and lash line restoration to PMU laser removal and the new Laser Brow Reset.
Terms & conditions20% off any treatment for appointments from 1st to 30th November 2026, booked with the code BLACKFRIDAY. Cannot be combined with any other offer or exchanged for cash. Consultation and patch test requirements, deposits and our usual booking terms still apply.
Notes from the treatment bed, written by Zara Rouse, on hair loss, restoration and PMU laser removal, on what actually works, and on the craft behind doing it well, written honestly and always with the evidence close at hand.
No articles match your search. Try another word or clear the filter.
Pre-care & aftercare
Care beyond your appointment.
Aftercare
Before you come
Caring for your new brows
Healing is where your brows are really made. A little patience over the first two weeks makes all the difference.
01
The first day
Blot gently and often with a clean tissue to lift away any fluid. It is the single most important thing you can do for your result.
02
Days two to seven
A thin layer of the aftercare balm each morning, and nothing else on the brows: no water, products or makeup, and no picking at any flaking.
03
The first five days
Avoid sweating and strenuous exercise while the skin begins to heal.
04
The first two weeks
No direct sun or sunbeds, and no saunas, steam rooms, hot tubs, chlorinated pools or sea swimming.
05
As it settles
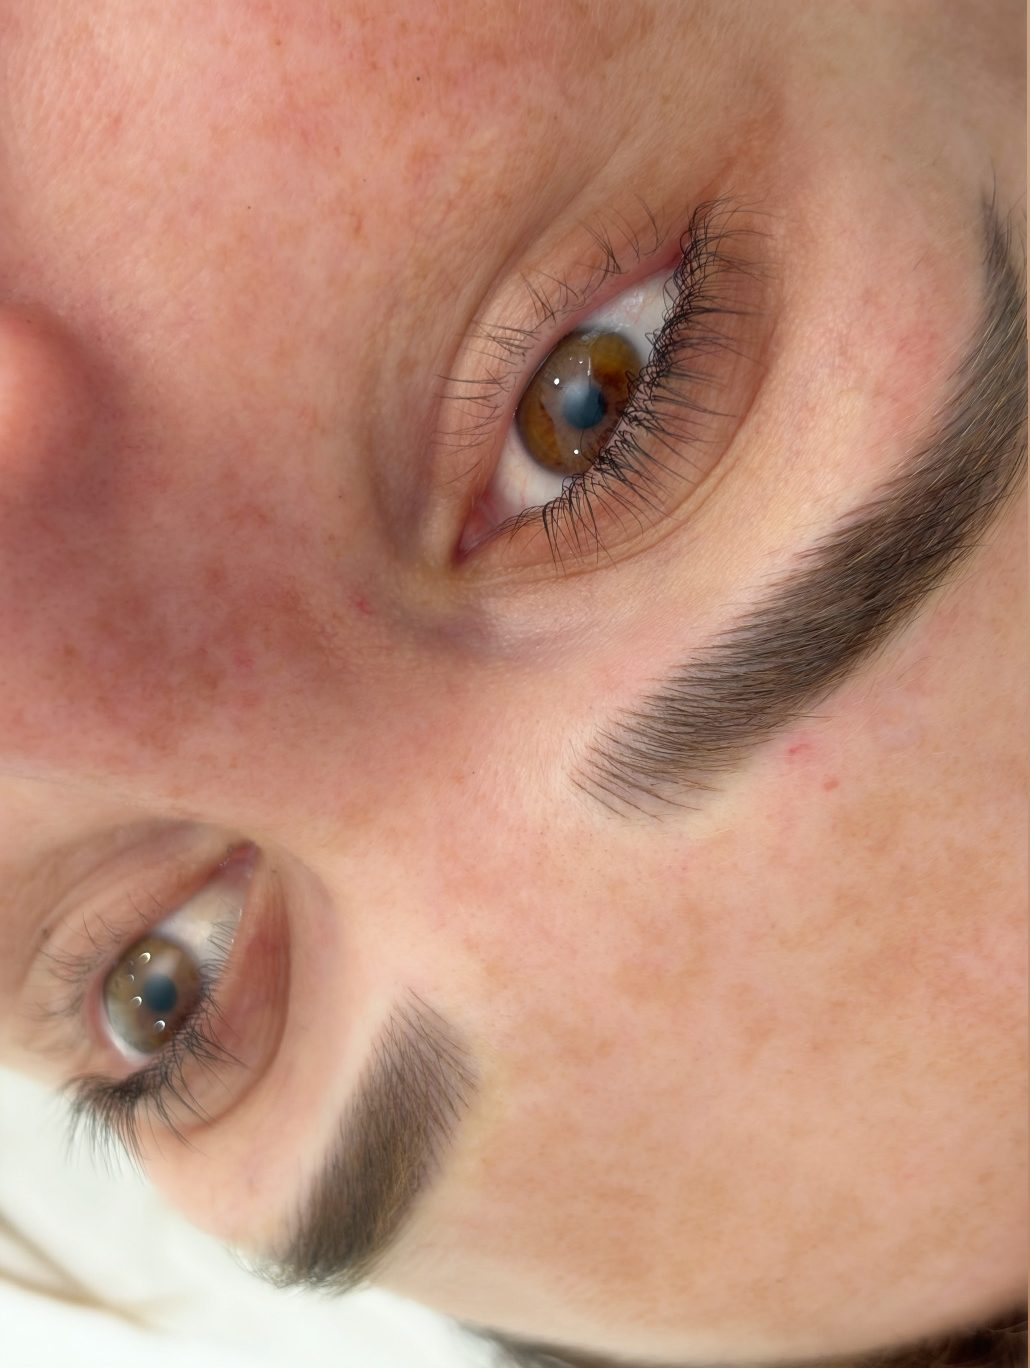
Your brows may look darker for a few days, then soften by around fifteen to thirty per cent once healed.
06
Your finished result
Visible four to six weeks after your perfecting session.
Caring for your lash line
Your lash line will look stronger at first, then settle softly over the weeks that follow.
01
Straight after
The colour will look about fifty per cent darker. It fades over four to seven days, and the true colour shows once fully healed, which can take up to four weeks.
02
Keep it clean
Keep the area clean of makeup, moisturisers and dirt while it heals. If needed, use a sterile saline solution recommended by your technician.
03
Keep it dry
Keep the area completely dry. If it gets wet or feels tender, gently pat it dry with a clean, lint-free pad, and please do not rub your eyes.
04
Makeup and creams
Makeup can be worn as long as there is no blistering or broken skin. If any blisters or irritation appear, avoid makeup and creams for up to seven days.
05
The first fourteen days
Avoid extreme temperatures, including sunbathing, sunbeds and saunas.
06
Always
Do not pick, scratch or rub the area, or the colour may heal unevenly or cause scarring or infection. Leave it alone and undisturbed for the whole healing period.
After laser removal
Gentle care between sessions helps your skin heal well and clear the pigment at its own pace.
01
Clean and dry
Keep the treated area clean and dry while it heals. If you need to, cleanse gently with a mild soap and water and pat dry.
02
Hands off
Do not pick or scratch at any dry skin. This protects your brows from scarring or uneven healing.
03
Water
You can shower after two hours, but avoid strong water pressure on your brows, and keep away from baths, pools and saunas until fully healed.
04
The first seven days
No makeup or creams on your brows, to prevent irritation. Exercise is fine, as long as you avoid heavy sweating for the first 48 hours.
05
Comfort
Cool compresses can ease any discomfort. Mild itching is normal, and you can moisturise gently with Aquaphor, vitamin E or hydrocortisone cream if needed.
06
As it heals
Redness and mild swelling are normal, and healing usually takes four to eight weeks. Temporary pigment changes can happen, but almost always settle naturally.
07
Once healed
Apply SPF 30 or higher to protect your results, and seek medical advice if you notice any signs of infection, such as spreading redness or oozing.
Preparing for your brows
A few simple things in the days before help your skin hold the pigment beautifully.
01
24 hours before
No alcohol, as it thins the blood.
02
On the day
No workout and no caffeine. Blood thinners can make you more prone to bleeding during the procedure, which affects how well the pigment is retained.
03
Your health
Please tell us as soon as possible about any health concerns or medication, including antibiotics.
04
Your skin
If the area shows any trauma, blemishes, dryness or imperfections in the 48 hours before, please let us know, as the treatment may not be able to go ahead for your safety.
05
Please note
We cannot treat anyone who is pregnant, breastfeeding, or under the influence of recreational drugs or alcohol.
Your patch test
A simple check you carry out at home before your treatment, so we can begin with confidence.
01
Prepare
Clean your skin in two areas: behind the ears, on your arm or on your leg.
02
Apply
You will have two opened plasters, one with pigment (P) and one with clear anaesthetic (A). Apply both to your chosen area.
03
For 24 hours
Leave them in place for a full 24 hours, and avoid getting them wet.
04
If you react
If you feel any burning, swelling or itching, remove them straight away with cold water and contact us.
05
All clear
A reaction is extremely unlikely, but the check follows industry standard health and safety protocol. If there is no reaction, there is no need to contact us, and we look forward to seeing you.
Please follow any individual advice given at your appointment. Any questions while you heal, call or WhatsApp the clinic on 01926 919319 and we will help.